
Last updated September 20, 2026
Free on-site gate assessment - hinges, posts, and your LiftMaster or Nice gate operator checked before anything is quoted
The assessment is free and the quote is the invoice.

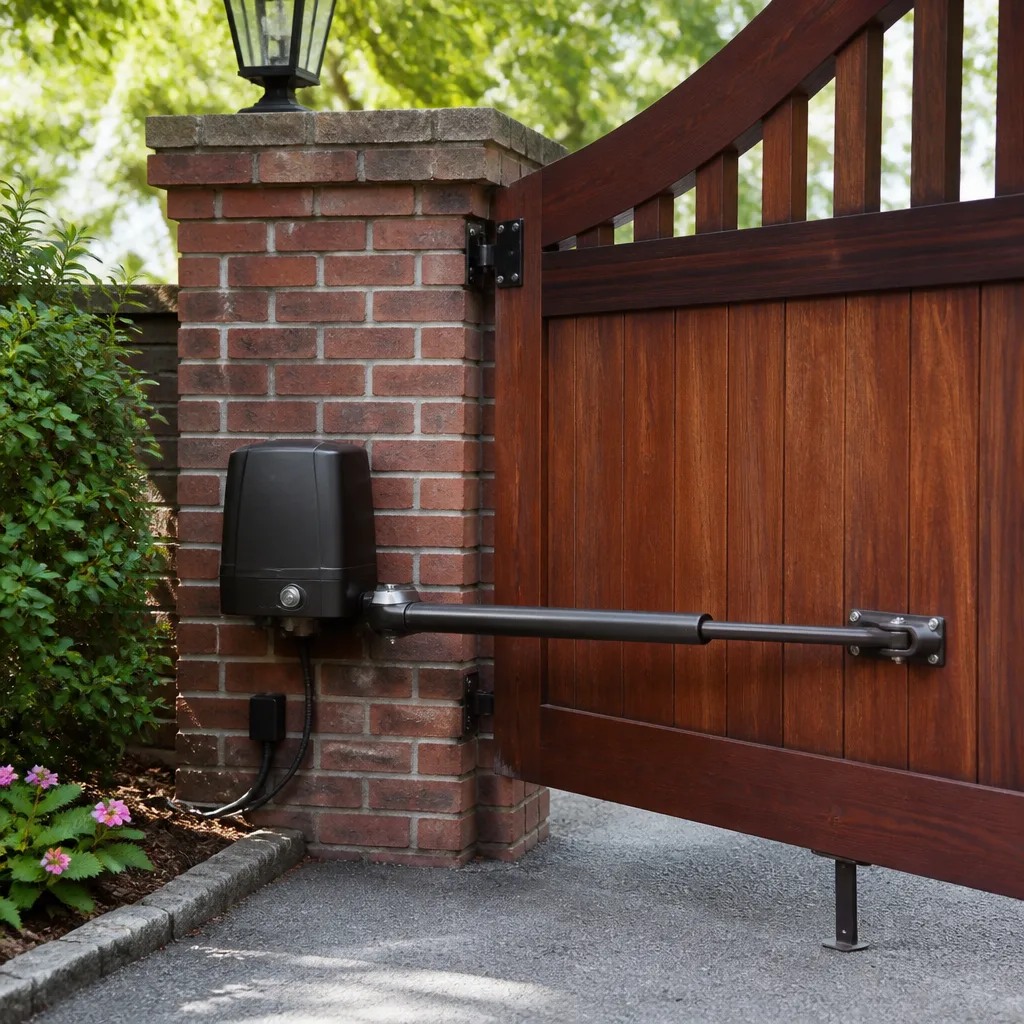
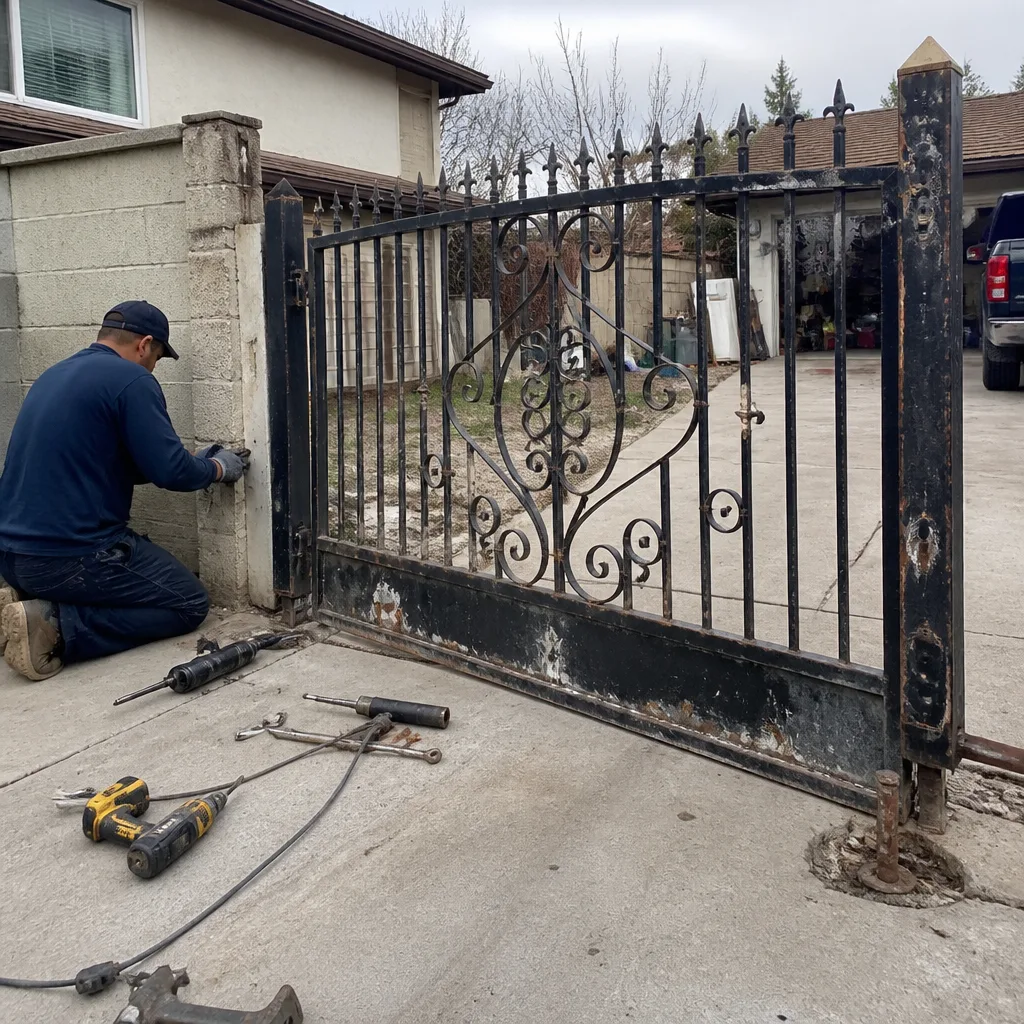 Before
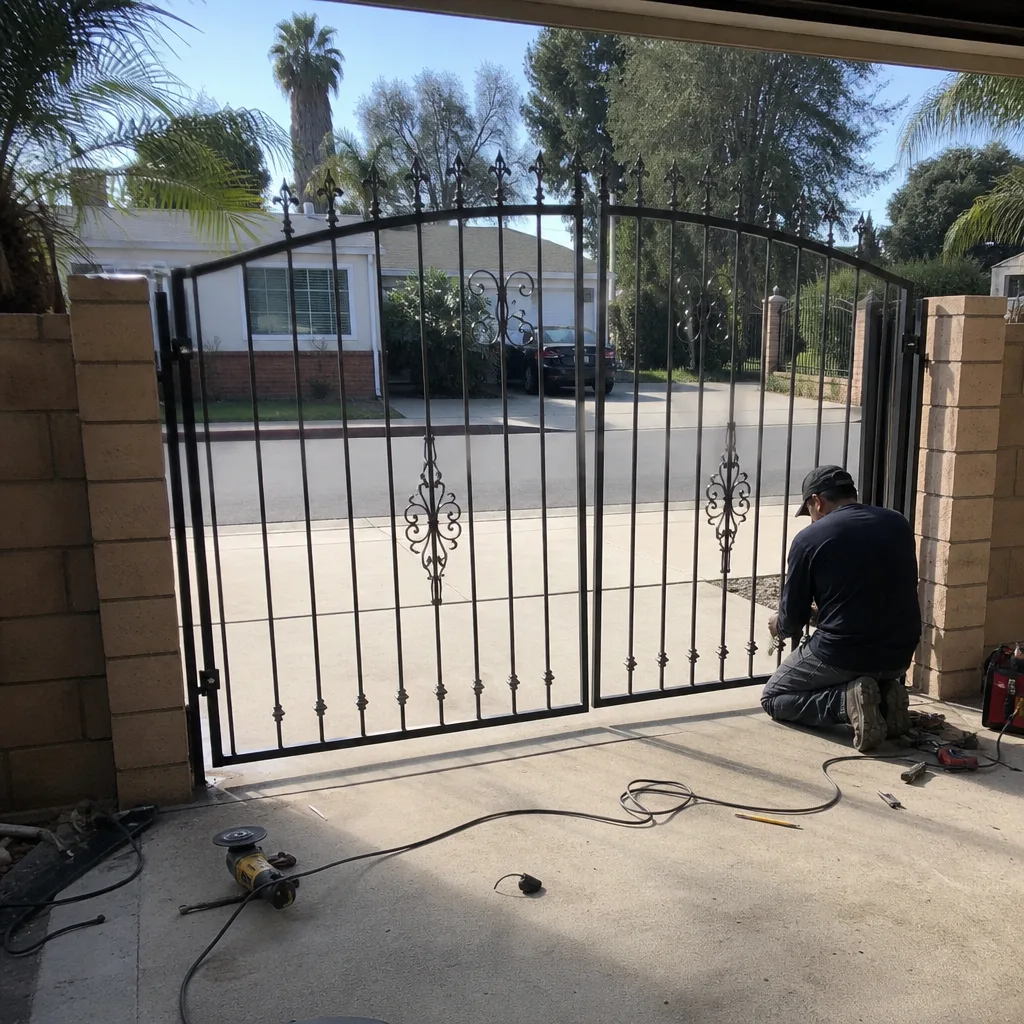 After
After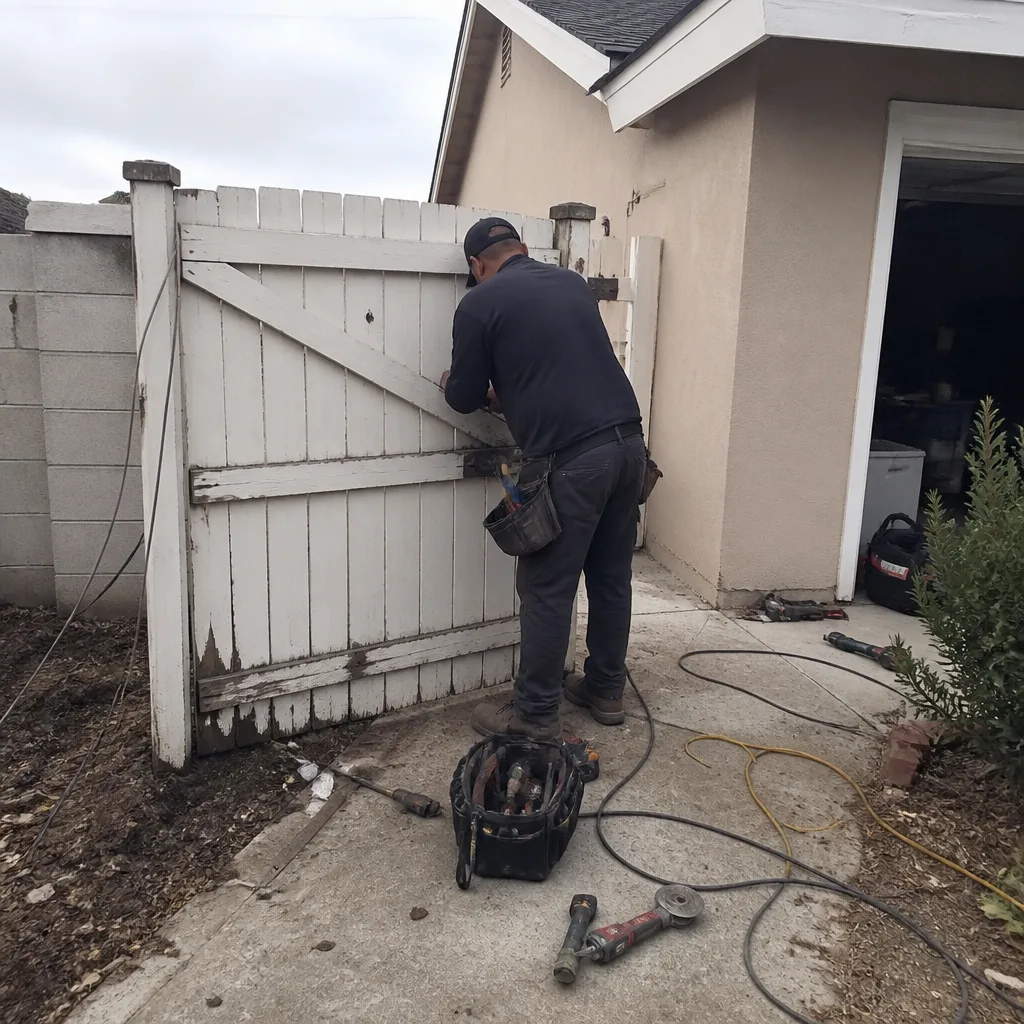 Before
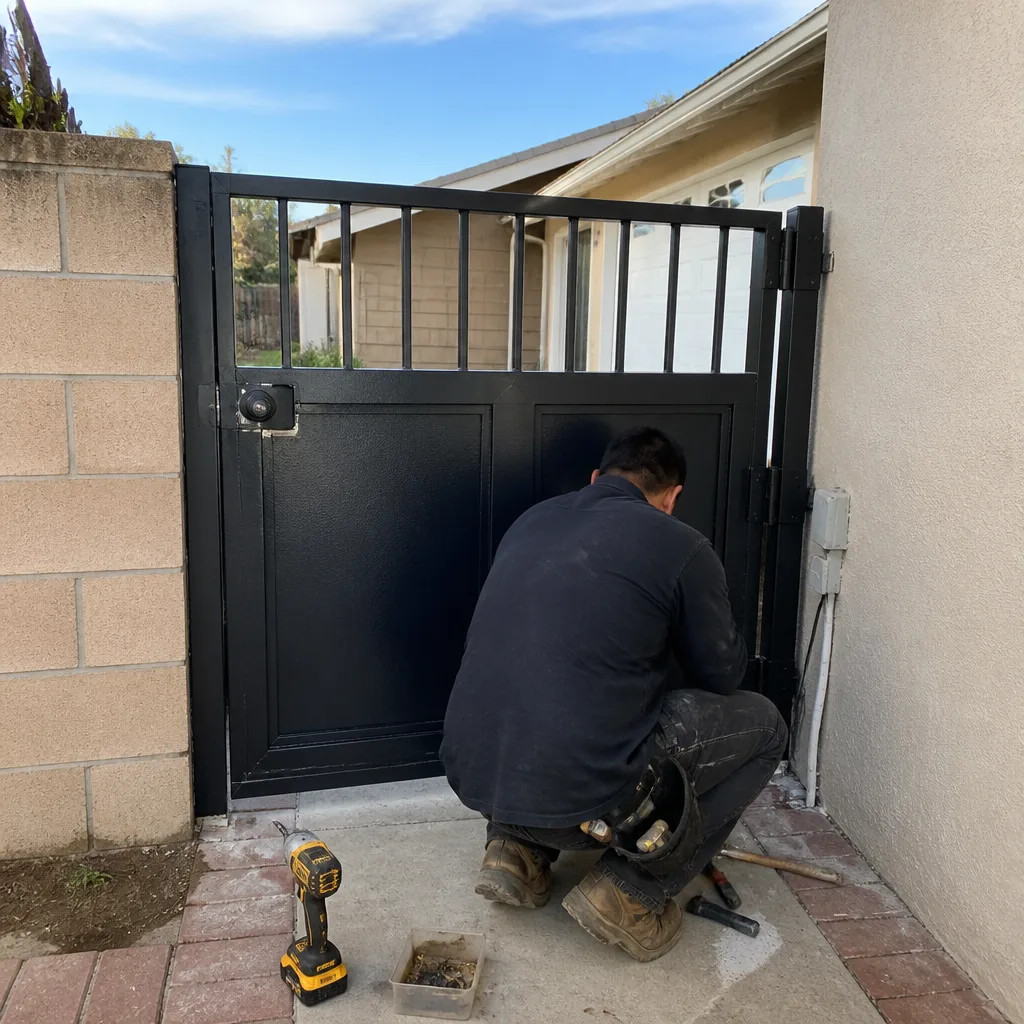 After
After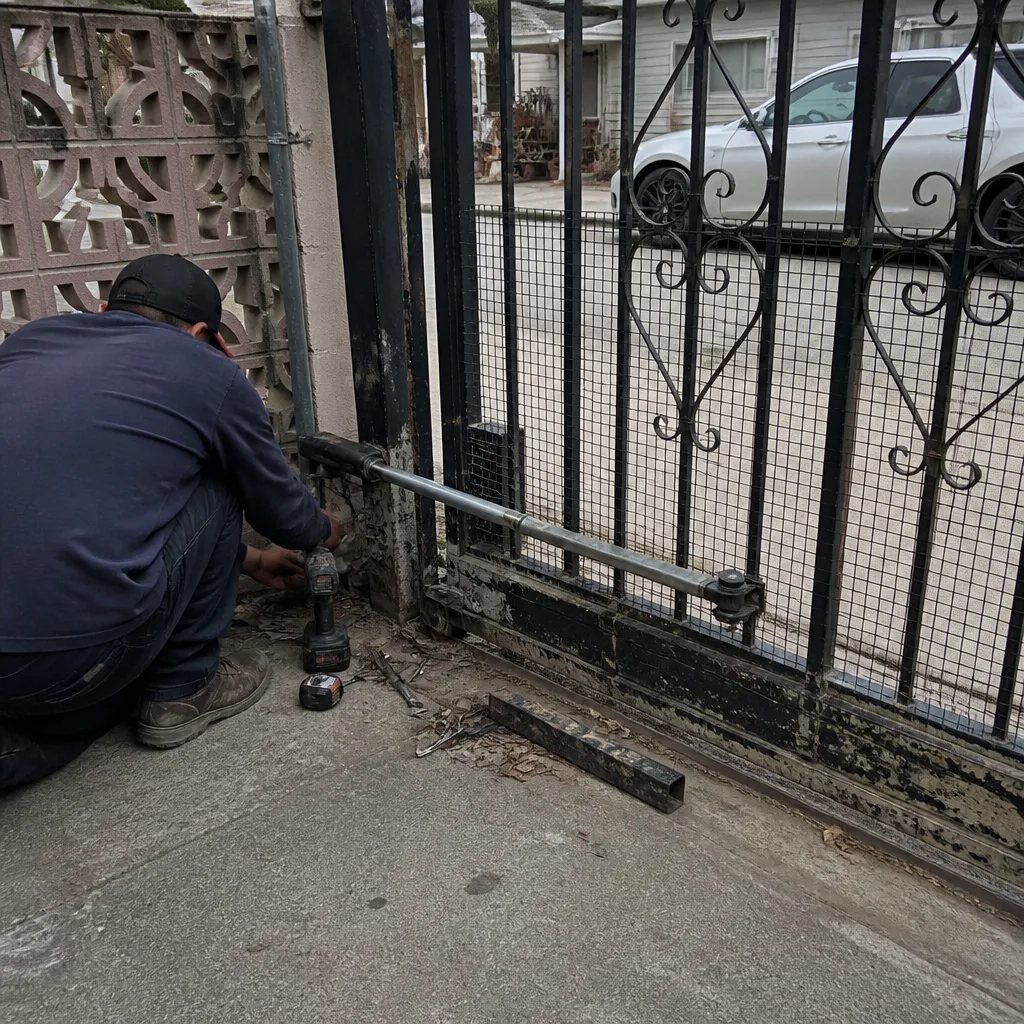 Before
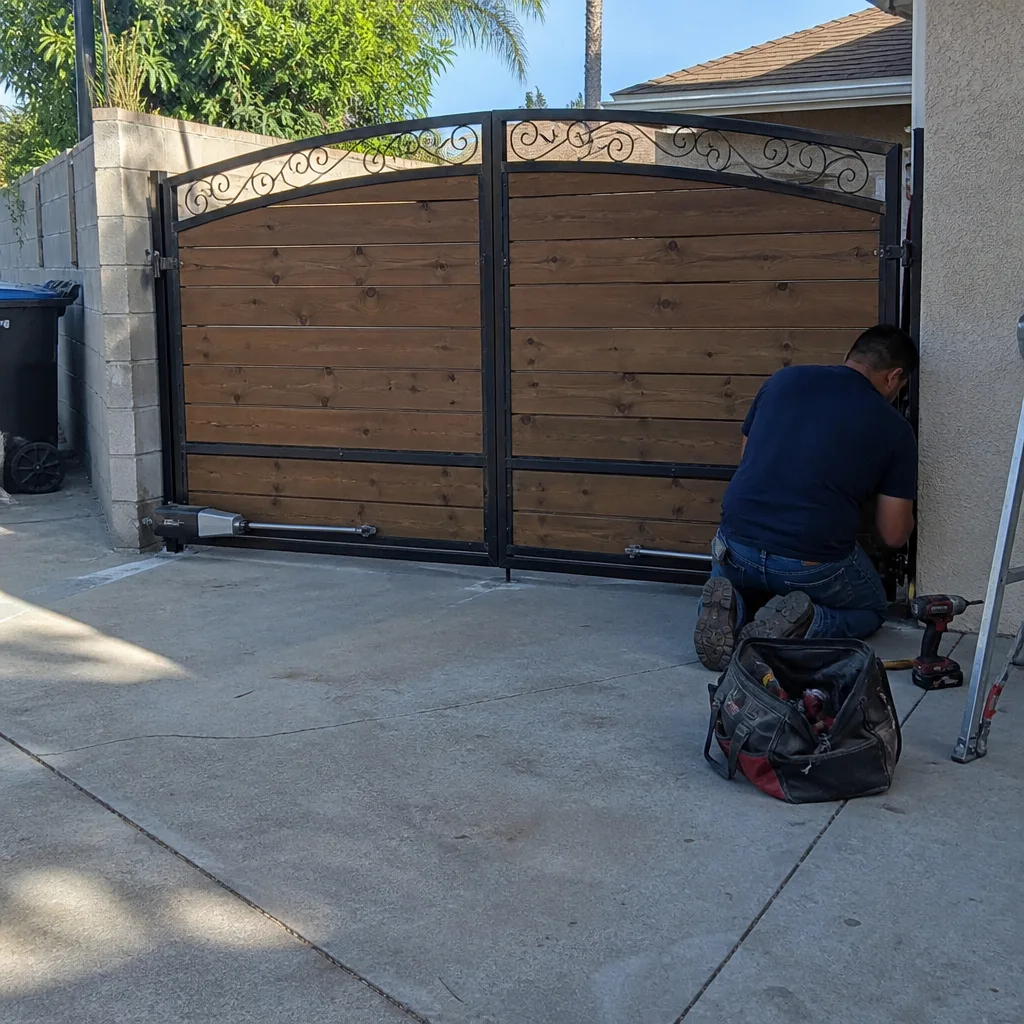 After
AfterDIY vs Professional Gate Repair: The Anaheim Homeowner’s Decision Guide
Replacing a broken wheel on a slide gate is genuinely DIY-appropriate. The part costs around $18, the process is mechanical, and a mistake is visible and correctable with a wrench. Adjusting limit switches on that same gate is genuinely not, because an error produces an entrapment condition that UL 325 exists to prevent. This guide maps that exact boundary, because the DIY-versus-professional question in Anaheim isn’t about how handy you are. For professional help when you need it, see our Gate Repair services. It’s about which failure modes carry consequences beyond the gate itself, and those are far narrower than most guides admit.
Quick Answer
Most homeowners in Anaheim can safely handle mechanical repairs that are visible, reversible, and don’t touch entrapment protection or electrical draw: replacing wheels, tightening hardware, lubricating tracks, swapping a remote battery. Anything that affects limit settings, photo-eyes, control boards, wiring, or code-required safety features belongs with a professional, and the reason isn’t complexity alone. It’s that undocumented electrical work on an automatic gate creates a diagnostic puzzle for every future technician and can void operator warranties that most Anaheim homeowners never read.
Table of Contents
- Repairs You Can Own: The DIY-Appropriate List
- Repairs That Require a Professional: The Bright Line
- The Entrapment Protection Boundary: Why UL 325 Matters
- The Hidden Cost of DIY Electrical Work on Automatic Gates
- Parts Sourcing in Anaheim: What You Can Actually Buy
- Warranty and Insurance: What Owner-Performed Work Does to Your Coverage
- How to Document DIY Work Like a Professional
- What DIY Actually Costs vs Professional Repair in Anaheim
- Common Mistakes to Avoid
- When to Call a Professional
- Frequently Asked Questions
- The Bottom Line
BeforeAfterRepairs You Can Own: The DIY-Appropriate List
The line between DIY and professional gate repair runs through one question: if you make a mistake, what happens next? If the answer is “the gate still doesn’t move and I can see why,” you’re in DIY territory. If the answer is “the gate slams shut on a car, a kid, or a dog, and I can’t see why,” you’re not. Anaheim’s climate adds a layer here: coastal moisture and dry inland heat both accelerate hardware wear, which means mechanical components on gates in neighborhoods like Anaheim Hills, Platinum Triangle, and West Anaheim fail on a predictable schedule. That predictability makes mechanical repair approachable.
Here’s the list of repairs that are mechanically reversible and require no documentation:
- Replacing slide-gate wheels and rollers: These wear out every two to five years depending on track condition and debris exposure. The part is cheap, the replacement is unbolt-and-rebolt, and if a wheel is misaligned it binds visibly before it damages anything.
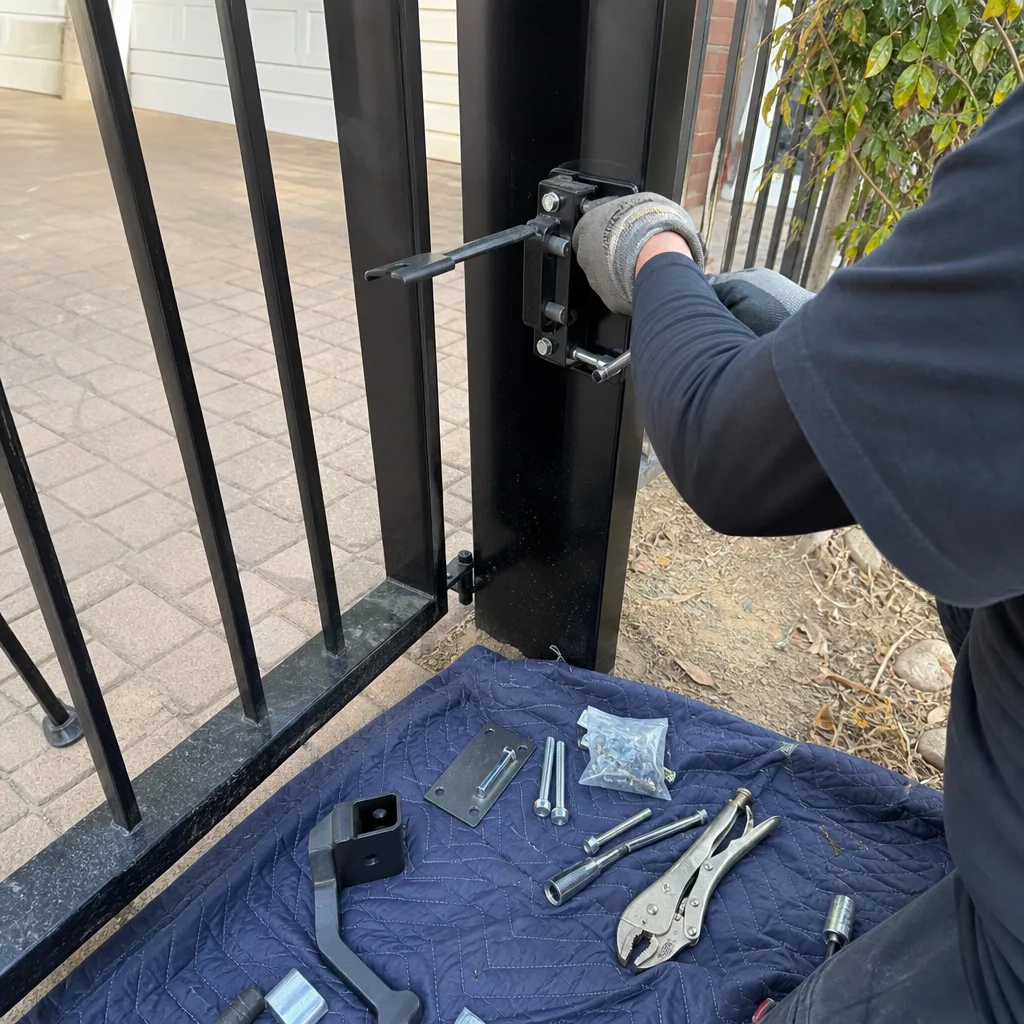
- Tightening loose hardware: Gate hinges, track brackets, and motor mounting plates loosen over time in Anaheim’s dry-settle soil. A socket set addresses most of it, and nothing about tightening a bolt changes entrapment protection.
- Lubricating tracks, hinges, and chains: Use a dry silicone or white lithium product, never WD-40, which attracts the fine dust that Anaheim’s Santa Ana winds push into every track.
- Clearing debris from the track path: Leaves, gravel, and irrigation overspray from Anaheim landscaping create slow gate movement and motor strain. Clearing the path costs nothing and is the single most-overlooked maintenance task on slide gates citywide.
- Replacing remote-control batteries and reprogramming remotes: If the operator’s manual is available and the procedure is clearly documented, this is accessible. If the manual is missing, see the professional-required list.
- Repainting or treating surface rust on steel gates: Surface rust is cosmetic and progressive in Anaheim’s marine-layer proximity. Wire brushing and a rust-inhibiting primer are well within homeowner reach.
Every item on this list shares three properties: the failure is visible, the fix is mechanical, and the consequences of error are limited to the gate not working. No code compliance issue, no warranty exposure, no entrapment risk. In our experience, about 40% of gate service calls Vance Gate Repair Anaheim receives are for issues on this list, and a portion of those homeowners would have preferred to handle it themselves had they known where the line was. For Gate Repair Maintenance Checklist for Anaheim Homeowners, see our detailed guide.
Repairs That Require a Professional: The Bright Line
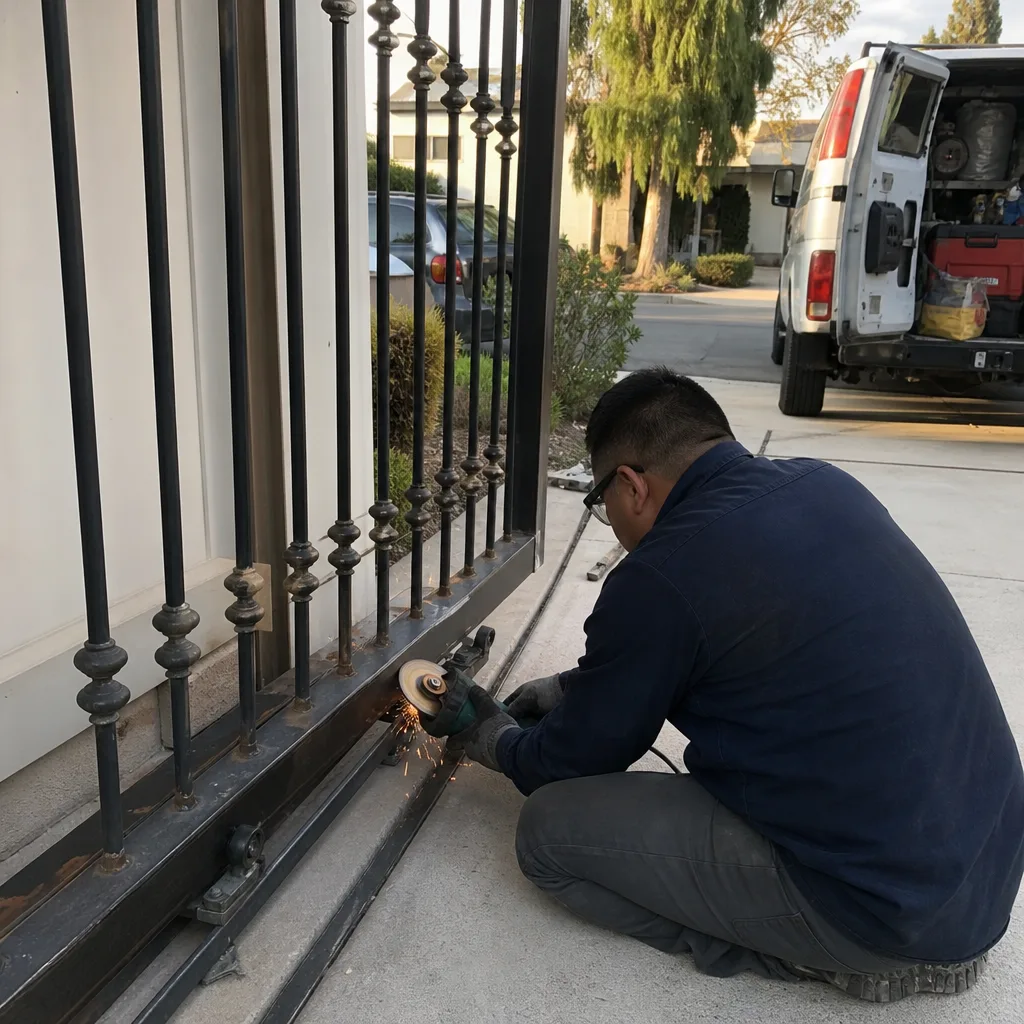
The professional-required side of the boundary comes down to three categories: entrapment protection, electrical draw, and code compliance. Any repair that touches one of these three creates consequences that extend beyond the gate itself, and those consequences are exactly what UL 325, the California Building Code, and operator warranties are designed to govern. Here’s the list with the reasoning behind each entry:
- Limit-switch setting and adjustment: Limit switches tell the motor where the gate stops. Set too far and the gate overtravels and slams; set too short and the gate doesn’t fully close. The dangerous failure mode is overtravel on a closing stroke, which produces an entrapment condition. UL 325 exists specifically because of injuries from gates that didn’t stop where they were supposed to.
- Photo-eye (photoelectric sensor) alignment and replacement: The photo-eye is the infrared beam that stops the gate if something crosses the path. Misalignment by as little as two inches can disable this protection while the gate continues to operate normally. The gate looks fine. The protection is gone. You wouldn’t know it without testing.
- Control-board diagnosis and replacement: The board manages power to the motor, monitors safety inputs, and stores limit positions. Testing it involves live voltage and a meter. Replacing it wrong can fry the board, the transformer, or the motor, and the resulting electrical draw spike isn’t detectable until something burns.
- Any wiring change, splice, or re-termination: This is the largest category and the one most Anaheim homeowners underestimate. A wiring change with no diagram creates a diagnostic puzzle for the next technician who opens the panel, and that puzzle costs labor hours to reverse-engineer. More on this below.
- Gate-motor replacement: Motors draw significant current at startup, require proper grounding, and must be paired with the board and limit configuration. A miswired motor can trip breakers, damage the board, or in the worst case energize the gate frame.
- Safety-edge replacement on slide gates: The edge sensor detects obstruction at the leading gate edge. Replacing it requires matching the correct resistance value to the operator’s input. Install the wrong edge and the operator ignores it, silently eliminating impact protection.
- Any repair involving conduit, junction boxes, or buried cable runs: Anaheim’s soil, irrigation systems, and hardscape create unique buried-cable failure modes. Underground splices that aren’t properly waterproofed will fail again within a season, and the failure is intermittent, which makes it the most expensive kind to diagnose.
One more item belongs on this list that rarely appears in competitor guides: any repair where the operator manual is missing and the wiring isn’t labeled. Without documentation, even a simple task like replacing a transformer becomes guesswork, and guesswork on a device that moves a 400-pound steel gate is not an acceptable risk profile.
The Entrapment Protection Boundary: Why UL 325 Matters
UL 325 is the safety standard that governs automatic gate operators in the United States. It was written because gates injure people when they don’t stop, slow, or reverse when they should. The standard requires every automatic gate to have at least two independent entrapment protection mechanisms: an inherent system (like a torque limiter or speed governor inside the operator) and an external system (photo-eyes, safety edges, or both, depending on the installation).
Here’s what this means in practical terms for a Anaheim homeowner standing in the driveway with a screwdriver: every adjustment you make to a limit switch, every photo-eye you bump while weeding, every safety edge you disconnect to replace a wheel, every control-board setting you’re tempted to change because the gate “just isn’t working right” is an adjustment to an entrapment protection system that a safety standard requires to function correctly. The gate doesn’t have to fail dramatically. It just has to close four inches past where it should, or ignore the photo-eye because its beam was interrupted by an overgrown bougainvillea, and the protection that should stop it is gone.
Anaheim’s climate adds a specific failure mode we see regularly: during Santa Ana wind events, dust and debris accumulate on photo-eye lenses. The beam gets weak, then gets intermittent, then fails altogether. Homeowners often respond by disabling the sensor to get the gate working again, which is exactly the wrong move. A disabled photo-eye is a UL 325 violation, an insurance exposure if an injury occurs, and a code violation if an inspector ever reviews the installation. The correct response is cleaning or replacing the lens, or realigning the sensor, which we do with a receiver that measures beam strength, not by eyeballing it.
The takeaway: entrapment protection is not a convenience feature. It’s the difference between a gate that stops and a gate that doesn’t, and if you don’t have the equipment to verify that it’s working after you touch it, you shouldn’t be touching it.
The Hidden Cost of DIY Electrical Work on Automatic Gates
This is the section that most DIY-versus-professional guides skip entirely, and it’s the one that costs Anaheim homeowners the most money over time. A wiring change without a diagram doesn’t just create a problem today. It creates a documentation gap that every future technician pays to close, and that payment is extracted in labor hours, not parts.
Here’s the scenario we see at least once a week in Anaheim: a homeowner replaces a gate operator or a transformer themselves. The gate works for a while. Six months later, something else fails. A technician arrives, opens the panel, and finds wiring that doesn’t match the terminal labels, splices that aren’t in the operator’s documentation, and no record of which wire goes where. The technician’s first job isn’t fixing the new problem. It’s reverse-engineering the old one, which adds diagnostic time, which adds billable hours. We’ve seen a $200 transformer replacement turn into a $700 diagnostic excavation because the wiring had been modified without documentation.
Gate Motor & Opener work in Anaheim is particularly vulnerable to this because installed operators span at least nine major brands, each with its own wiring conventions. A homeowner who wires a LiftMaster control board one way and a FAAC board another is creating a cross-brand puzzle that would confuse a technician who works on gates every day. This is why Vance Gate Repair Anaheim photographs every wiring change, labels every wire, and leaves a wiring diagram with the homeowner on every visit. The documentation isn’t a courtesy. It’s the difference between a gate that can be repaired in an hour and a gate that has to be investigated for a day.
What does a documentation gap cost in real dollars? In Anaheim, diagnostic labor typically bills at $85 to $110 per hour. A documented repair on a known operator takes 30 to 60 minutes. An undocumented reverse-engineering job can take two to three hours before any actual repair begins. That’s a $170 to $240 documentation tax on every future repair, applied every time a new technician encounters the gate. Multiply that across the 10- to 15-year life of a typical Anaheim gate installation and the cost of undocumented DIY electrical work exceeds whatever was saved by doing it yourself in the first place.
Parts Sourcing in Anaheim: What You Can Actually Buy
There’s a persistent myth that gate parts are hard to find and therefore require a professional. The truth is more nuanced, and it matters for the DIY decision. Some components are genuinely available through retail channels at fair prices. Others are operator-specific, trade-account gated, or sold non-returnable, and those details change the economics of a DIY attempt in Anaheim.
What’s realistically available to an Anaheim homeowner:
- Slide-gate wheels and rollers: Available at hardware stores, gate-supply shops in Anaheim’s industrial corridor, and online. Generic V-groove wheels run $15 to $35 each. Verify the diameter and axle size before buying.
- Hinges, brackets, and hardware: Readily available. Get galvanized or stainless steel if the gate is within ten miles of the coast, which most of Anaheim is, because marine-layer moisture accelerates corrosion.
- Remote controls and keypads: Available for major brands like LiftMaster and Mighty Mule at big-box stores and online. Make sure the frequency matches your operator; a 315 MHz remote won’t talk to a 318 MHz operator.
- Lubricants, rust treatments, and touch-up paint: Available everywhere. Choose dry silicone for tracks and chains, white lithium for hinges.
What’s not realistically available:
- Control boards for FAAC, BFT, Elite, and Viking operators: These are sold through authorized distributors and trade accounts. A homeowner searching retail will find either nothing, questionable gray-market listings, or boards with no return policy and no technical support. Install an incorrect board revision and you’ve spent $300 to $600 on a paperweight.
- Safety edges with specific resistance values: Operator manufacturers specify edge sensors with exact resistance curves. The wrong edge, even from the right brand, will be ignored by the operator. These are not retail items for a reason.
- Replacement arms, brackets, and piston components for FAAC and BFT operators: Brand-specific, trade-sourced, and non-returnable once installed. A homeowner who misidentifies a compatible part is stuck with it.
- Warranty-covered replacement parts: If your operator is under warranty, the manufacturer ships replacements through authorized installers or distributors, not directly to homeowners. Bypassing that channel typically voids the remaining warranty.
The practical rule: if the part is generic hardware, it’s DIY-buyable. If the part is specific to an operator brand, it’s trade-sourced, and the Anaheim homeowner who buys it retail is taking on non-returnable risk without technical support. Vance Gate Repair Anaheim has trade accounts with nine major brands, including LiftMaster, FAAC, BFT, Elite, and Mighty Mule, which means we can source the correct part with the correct revision and return it if it’s wrong. That sourcing difference alone justifies a professional call for operator-specific work.
Warranty and Insurance: What Owner-Performed Work Does to Your Coverage
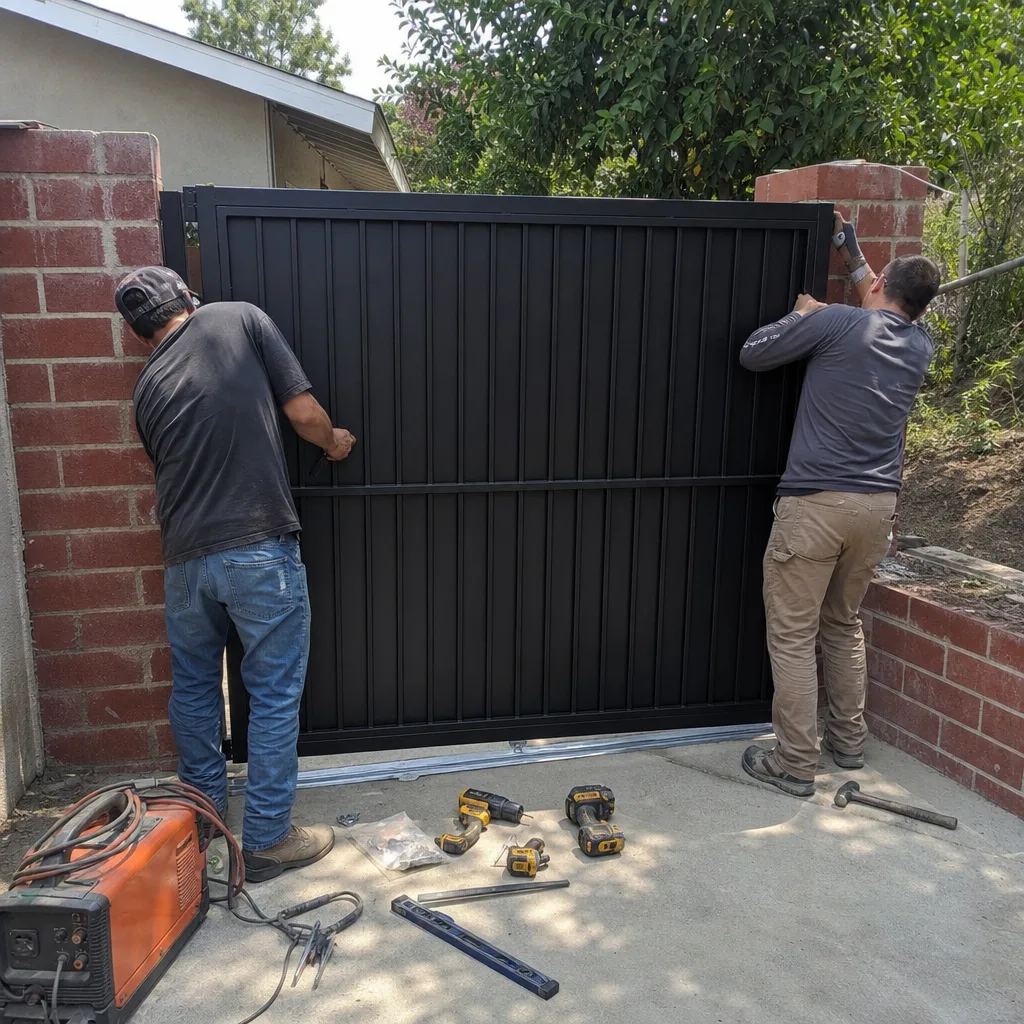
Most operator warranties contain language that voids coverage if the operator was installed or modified by someone other than a qualified technician. The language varies by manufacturer, but the intent is consistent: the manufacturer warranties the product as designed, not as modified by whoever had a screwdriver. If a LiftMaster or FAAC operator fails within its warranty period and the serial number traces to an owner-modified installation, the claim is denied. Period.
What does “modification” include? In warranty language, it typically covers any change to wiring, limit settings, safety-device connections, or cabinet internals. Replacing a battery doesn’t modify anything. Adding a wireless keypad doesn’t modify the operator. Replacing a control board absolutely does, as does rewiring a transformer or bypassing a photo-eye. A homeowner who replaces a control board to save $300 in labor has, in most cases, voided the remaining warranty on a $1,200 to $2,500 operator. The math doesn’t work.
California homeowner’s insurance adds another layer. Most policies exclude damage caused by “faulty workmanship” or “owner-performed repairs” if an injury or property loss results from a modified gate installation. If a gate modified by a homeowner closes on a neighbor’s car or injures a delivery driver in Anaheim, the insurance company will investigate whether owner-performed work contributed to the failure. If it did, the claim can be denied or the premiums re-rated. We’re not lawyers and we don’t give insurance advice, but we’ve seen enough claims in the Anaheim market to say this: undocumented DIY electrical work on an automatic gate is an exposure that no homeowner should accept in exchange for a few hundred dollars of saved labor.
The warranty and insurance picture for Gate Installation in Anaheim work is slightly different: if a gate was installed by a licensed contractor, the installation itself carries workmanship coverage. If a homeowner installed the gate themselves and it fails, there’s no installer to call, and the operator warranty likely doesn’t cover installation-related failures. The DIY savings evaporate the first time a structural weld fails or a foundation shifts in Anaheim’s expanding clay soil.
How to Document DIY Work Like a Professional
If you’ve decided that a particular repair sits on the DIY-appropriate side of the line, the single most valuable thing you can do is document it the way a professional would. This costs nothing extra and transforms your work from an unlabeled liability into a recoverable record. Here’s the exact process, in order:
- Photograph everything before you start: Open the operator cover and take clear photos of every wiring connection, every terminal label, and every component from at least three angles. These photos are your “before” reference and will be the first thing any future technician asks for.
- Record the part numbers before removal: Every wheel, hinge, bracket, sensor, and board has a part number stamped or stickered on it. Write them down or photograph them before removing anything. A future parts order depends on these numbers, and they’re often impossible to read once the part is removed or worn.
- Measure and photograph after installation: If the repair involved adjustment (track alignment, hinge spacing, wheel height), measure the final configuration and photograph it. A tape measure in the photo gives the next person a reference point.
- Write down what you did, in sentence form: “Replaced right-side V-groove wheel with 4-inch wheel from Orange County Gate Supply, 7/15. Old wheel had flat-spotted on the bearing surface.” This takes 90 seconds and gives a future technician the entire repair history.
- Store the record with the operator manual: Put photos and notes in a folder or envelope, attach it to the operator manual, and keep it in a known location. The manual itself is the most valuable document in the gate system; losing it converts every future repair into a diagnostic project.
This documentation standard is what Vance Gate Repair Anaheim applies on every visit under what we call The Haven Standard: Clause 4 requires a documented photo record on every job. That record includes photos of what was found, what was adjusted, and what was installed, plus the part numbers. When we leave a gate, the homeowner has a written and photographic record of everything that happened. If you’re going to do DIY work, applying the same standard means your work won’t become a mystery for the next person who opens the panel.
What DIY Actually Costs vs Professional Repair in Anaheim
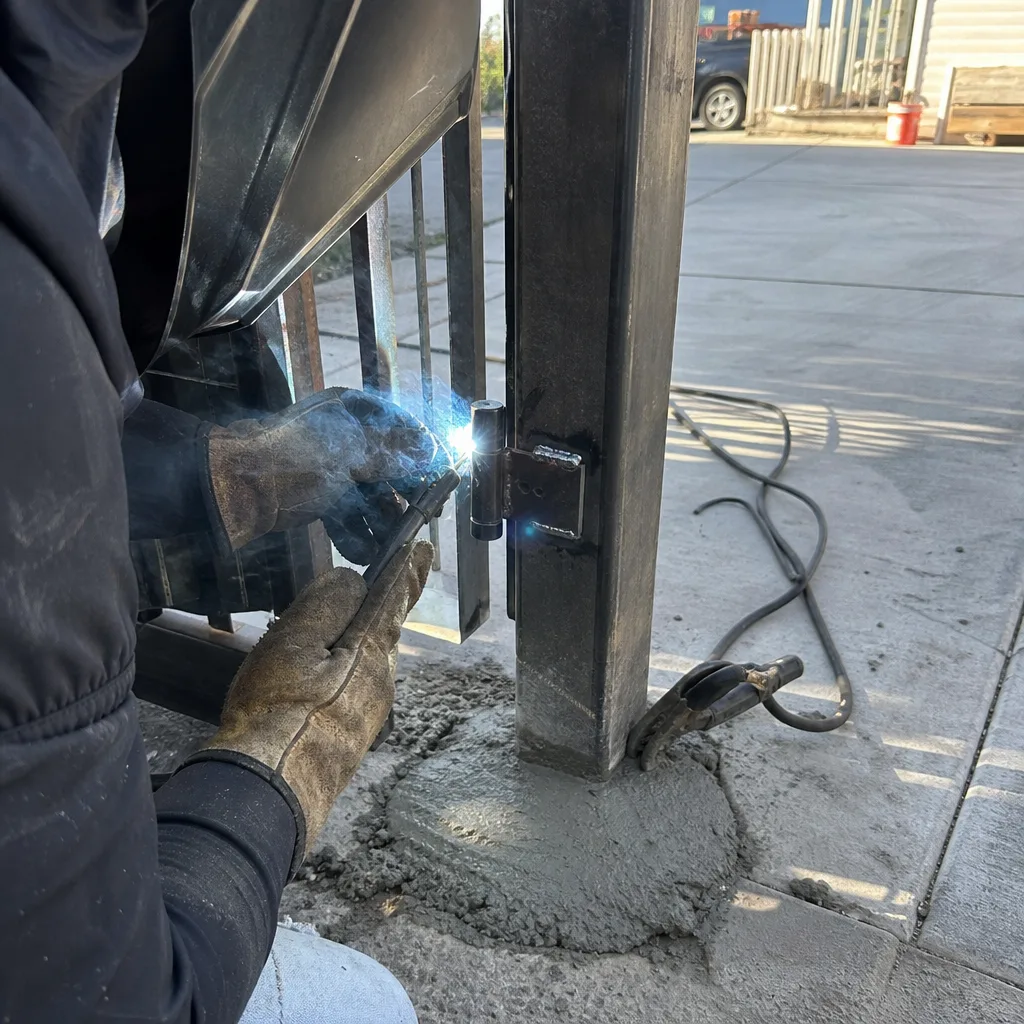
The decision framework here is specific to the Anaheim market, where repair labor typically runs $85 to $110 per hour and service-call minimums from reputable gate companies land between $95 and $150. A straightforward gate repair from a professional in Anaheim costs $180 to $400 in most cases, including the service call, parts, and labor. For a detailed look at pricing, see our Gate Repair Cost Breakdown: The Anaheim Homeowner’s Reference for 2026. Here’s how the common repairs compare:
- Replacing a slide-gate wheel: DIY cost is $18 to $35 for the wheel, one hour of your time. Professional cost is $150 to $220 including the service call and labor. This is a strong DIY candidate.
- Replacing a photo-eye sensor: DIY cost is $60 to $120 for the sensor, but it requires alignment verification equipment and a mismatch voids the protection. Professional cost is $250 to $380 including the sensor, the alignment check, and the beam-strength verification. Professional-required.
- Replacing a control board: DIY cost is $200 to $600 for the board with no return option, no warranty, and no technical support. Professional cost is $400 to $800 including the board, the installation, the limit re-setting, and a documented record of the new configuration. Professional-required.
- Replacing a gate motor: DIY cost is $350 to $700 for the motor with no compatibility verification. Professional cost is $850 to $1,400 including the motor, the board pairing, the ground verification, and the documentation. Professional-required.
The pattern is clear: the DIY savings are meaningful on mechanical repairs where a mistake is visible, and nearly nonexistent on electrical or safety-related repairs where the risk is hidden and the consequences are expensive. What’s less obvious is the second-order cost: every undocumented DIY repair adds to the diagnostic bill on the next professional visit. In Anaheim, a gate that has been DIY-modified over several years often costs more to bring back to documented, correct condition than it would have cost to repair professionally in the first place.
For a complete breakdown of what gate repairs cost in the current Anaheim market, including service-call minimums and part pricing, see our Gate Repair in Anaheim page, which is updated regularly with real Anaheim pricing.
Common Mistakes to Avoid
- Bypassing the photo-eye to get the gate working: We see this response to an intermittent beam regularly in Anaheim, especially during dusty Santa Ana conditions. The gate works; the entrapment protection is gone. This is the single most dangerous DIY decision on the list and the one that creates the largest insurance exposure.
- Using WD-40 on tracks and chains: In Anaheim’s dry, dusty climate, WD-40 attracts fine particulate matter and turns into a grinding paste that accelerates track wear. Use a dry silicone or white lithium product instead.
- Attempting a control-board replacement without a wiring diagram: Board terminals are not standardized across brands, and a miswire can destroy the board, the transformer, or the motor before the breaker trips. If there’s no diagram in hand, the board belongs in a technician’s hands.
- Replacing a safety edge with whatever fits: Operator manufacturers specify exact resistance values, and an incorrect edge is silently ignored. The gate will look fine and won’t stop when it should.
- Heavy sanding or grinding on a gate without checking the paint: Many pre-2008 gates have lead-based paint. Anaheim’s older housing stock, especially in the Colony and surrounding historic districts, raises this concern. Test before grinding.
- Assuming a power-strip breaker covers the gate circuit: Gate operators often run on their own GFCI-protected circuit, and tripping it during a storm is a common “the gate won’t move” cause. Check the dedicated breaker before assuming motor failure, but don’t open an energized operator cabinet to probe anything.
- Replacing an operator without photographing the old wiring first: The single most preventable cause of a documentation gap. Photograph before disconnecting anything, every time.
When to Call a Professional
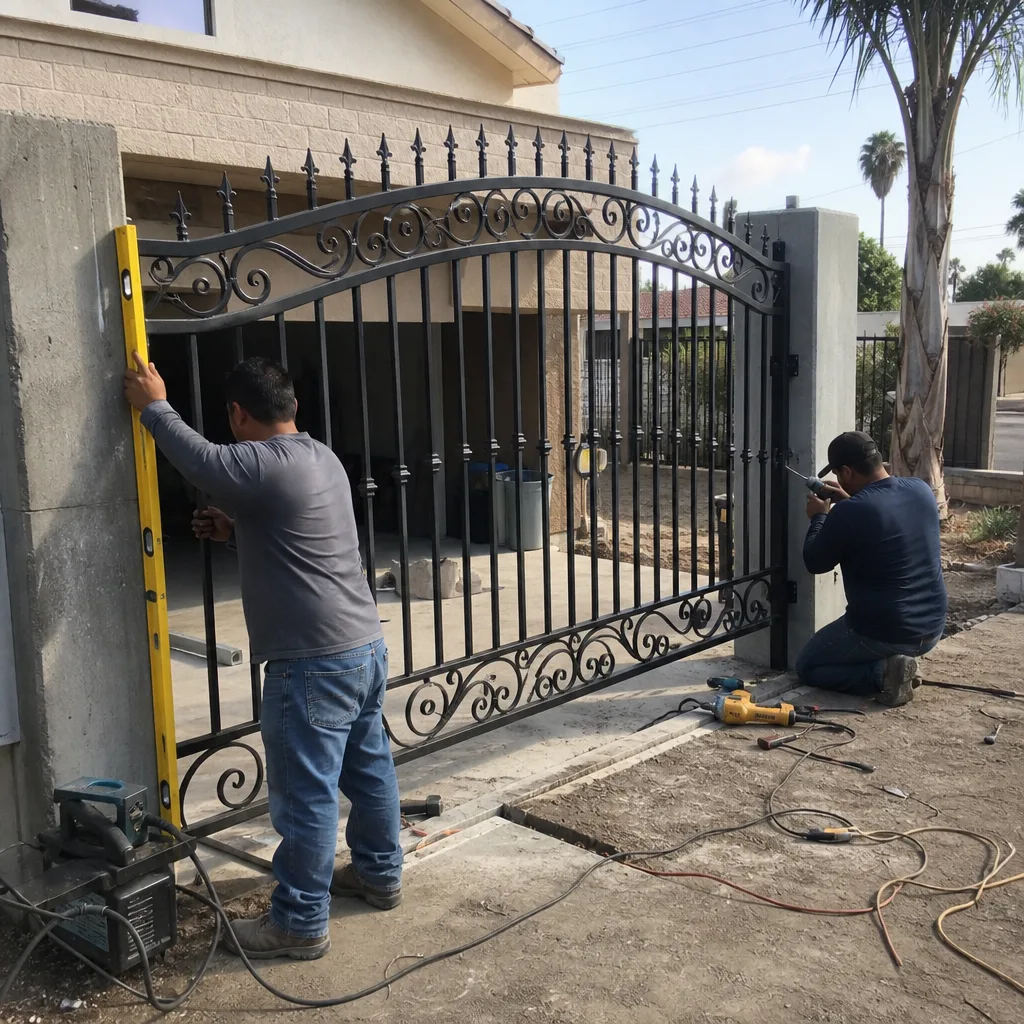
Call a professional when the repair touches limit settings, photo-eyes, safety edges, control boards, wiring, or the motor itself. Call when the operator manual is missing and the wiring isn’t labeled. Call when you’ve tried a DIY-appropriate repair and the gate still isn’t moving correctly, because something deeper is wrong. Call when the gate is making a grinding or humming noise that indicates a motor strain you can’t visually diagnose. Call when a weld has cracked, because gate-structure welding is a specialized skill and a poorly executed weld on a 400-pound sliding leaf is a structural failure waiting to happen. In Anaheim, Vance Gate Repair Anaheim offers free estimates on all gate repair work, with a written price delivered before any work begins. Call (657) 567-5799 and a live person answers at any hour.
Frequently Asked Questions
On mechanical repairs like wheel replacement, DIY saves $130 to $200 compared to professional rates of $150 to $220 in Anaheim. On electrical or safety repairs, the DIY savings vanish after accounting for non-returnable parts, warranty voidance, and the diagnostic costs your undocumented work creates for future repairs. The first visit to Vance Gate Repair Anaheim includes a written price before work begins, so you can compare the real numbers before deciding. Call (657) 567-5799 for a free estimate.
A complete beginner can safely replace slide-gate wheels, tighten loose hardware, clear track debris, lubricate moving parts, and replace remote batteries. These are all mechanical, visible, and reversible repairs with no entrapment-protection or electrical-draw implications. Anything involving wiring, sensors, limit settings, or the control board should be left to a professional regardless of experience level.
Yes, in most cases, if the DIY work modifies the operator’s wiring, limit settings, safety-device connections, or cabinet internals. Manufacturers like LiftMaster and FAAC specifically exclude coverage for owner-modified operators, and the exclusion typically applies to the entire operator, not just the modified component. Replacing a battery or adding an external keypad does not void the warranty, but replacing a control board or rewiring a transformer absolutely does.
Yes, for repair and emergency work, Vance Gate Repair Anaheim responds the same day in most cases. A live person answers the phone 24/7 at (657) 567-5799, and we schedule the service call with a written price quoted before any work starts. For installations and new automation, we schedule a free measure and written proposal instead, because that work requires precise measurement and ordering.
A complete gate installation or automation retrofit includes site measurement, foundation assessment, gate and operator selection matched to the site’s weight, width, and usage, all wiring and conduit, safety-device installation and verification (photo-eyes, safety edges, or both per UL 325), limit setting, testing, and a documented photo record of the finished installation. In Anaheim, soil conditions and concrete layout affect foundation design, so every Gate Installation in Anaheim we quote includes a site review as part of the free estimate. Call (657) 567-5799 to schedule one.
Yes, Vance Gate Repair Anaheim handles the complete electrical installation for automatic gates, including power runs from the panel, conduit, junction boxes, and cabling, plus the installation and verification of all required safety devices including photo-eyes and safety edges. Every installation includes a wiring diagram and a photo record left with the homeowner, which is our standard documentation under The Haven Standard. Estimates are free, and the price is written before any work starts.
The Bottom Line
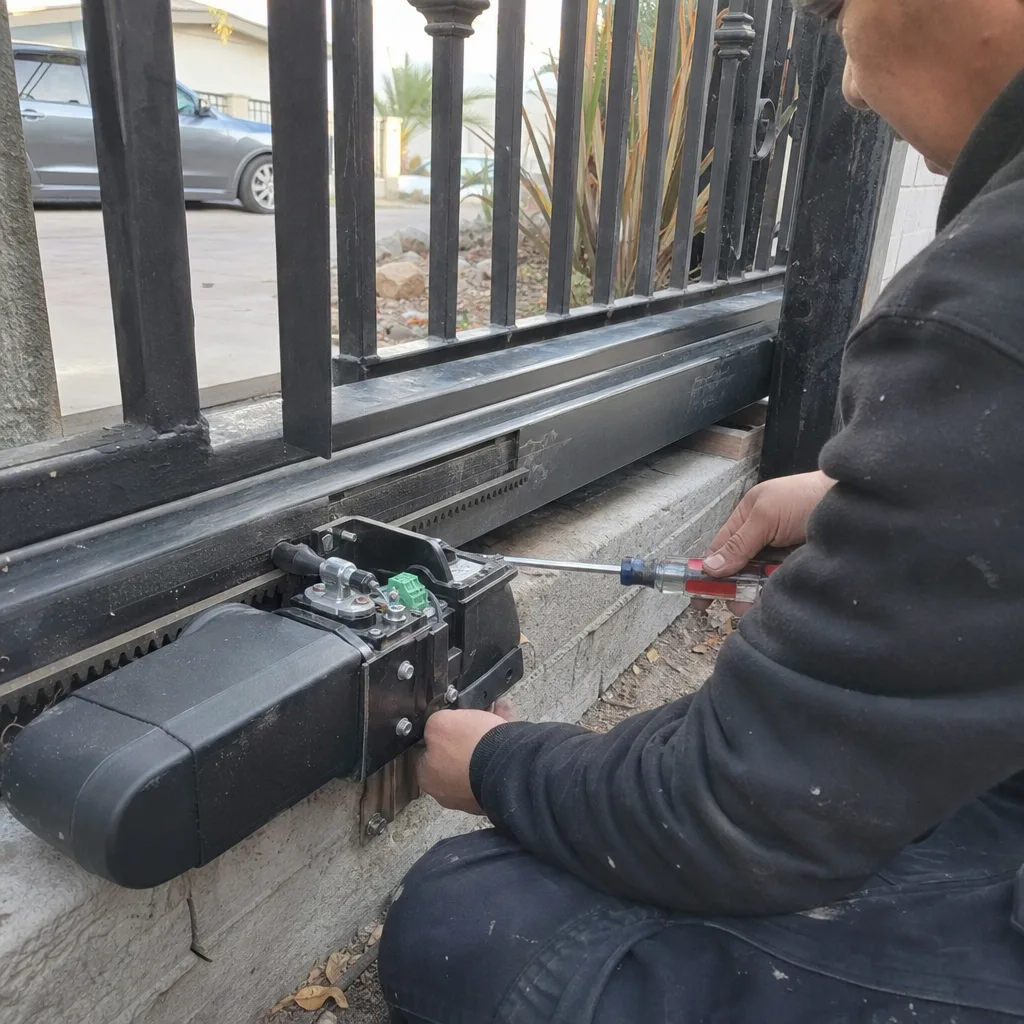
The DIY-versus-professional question for gate repair in Anaheim resolves to a boundary that’s narrower than most guides admit: mechanical repairs on visible, reversible components are real DIY territory, and they include enough of the common problems that a capable homeowner can legitimately save money. Electrical, safety, and code-governed repairs are not a skill question. They’re a liability, warranty, and documentation question, and the honest answer is that attempting them creates downstream costs and risks that no DIY savings can justify. Document your DIY work like a professional would, call for professional work when the line is crossed, and explore our more guides & resources to keep your gate in top condition. Remember that a gate that protects a family and property in Anaheim deserves the same level of care as the home it guards.
Contact Vance Gate Repair Anaheim
If you’re in Anaheim, CA, and you’re unsure whether your gate issue sits on the DIY or professional side of the line, call us at (657) 567-5799. We’ll talk it through, help you decide, and if professional service is the right call, you’ll get a free estimate with a written price before any work starts. A live person answers at any hour, and every job includes the documented photo record and the 365-Day Done Right Promise that defines Vance Gate Repair Anaheim home service since 2014.
Written by Adrian Vance, Owner at Vance Gate Repair Anaheim, serving Anaheim since 2014.